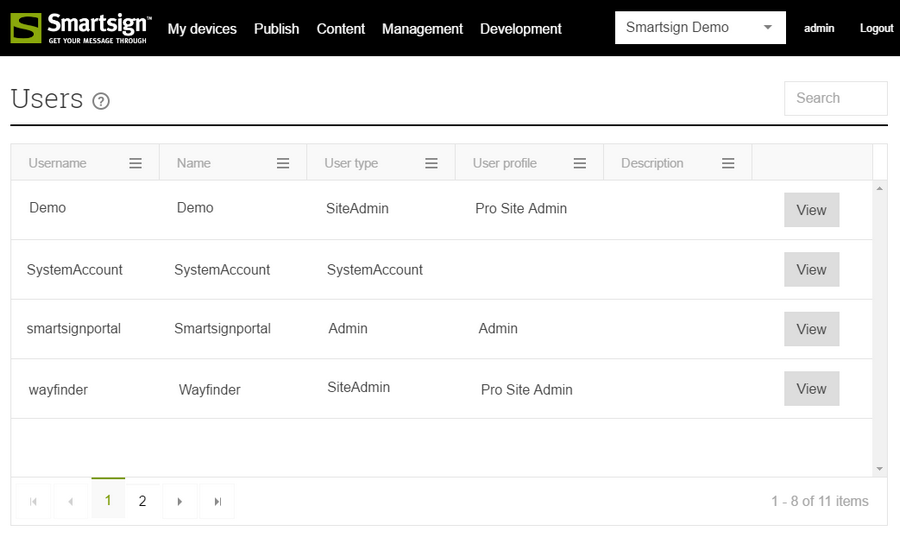
Users
Everyone accessing Smartsign Server needs a user/identity. When you login to Smartsign Identity, you authenticate your identity which in turn is coupled to one or more users in Smartsign Display Manager.
The Users view shows you a searchable list of all users in the current site.
Invite/add a new user
To add a new user, you must invite them.
-
Click + Invite users
-
Choose user type
First you must select the type of user you are creating. You do this by choosing a user profile for the user. Please see the User Profiles chapter for more information on the available profiles.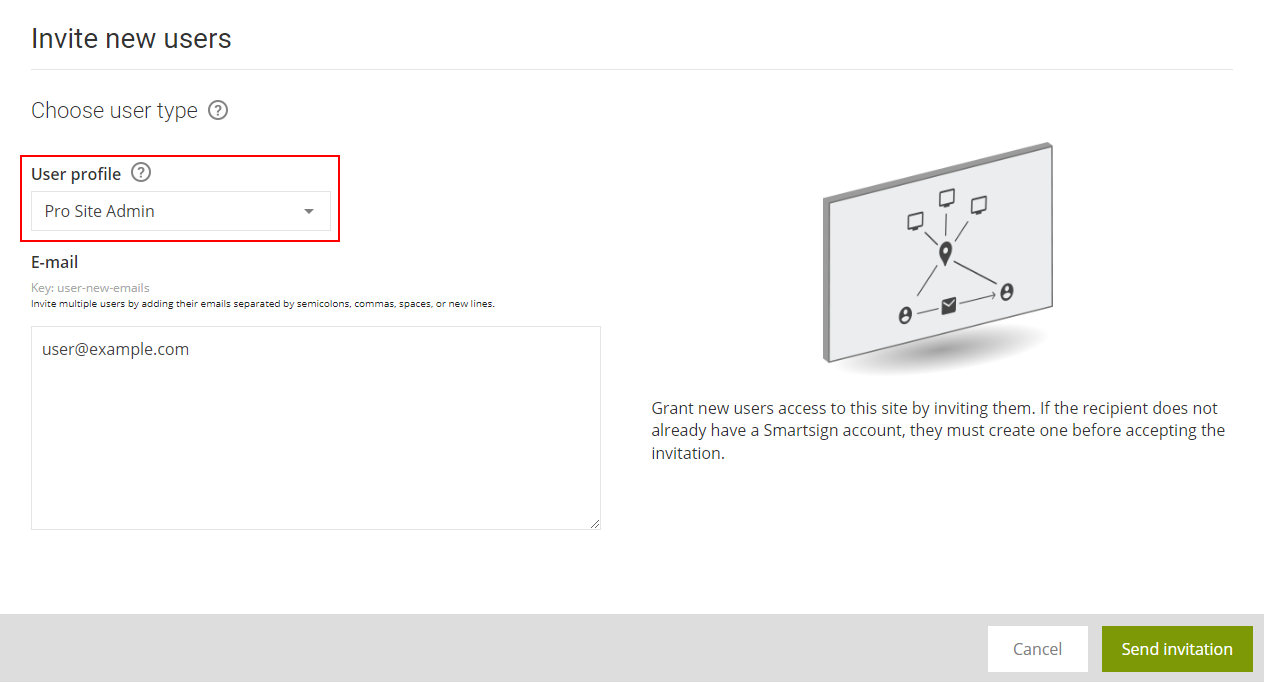
-
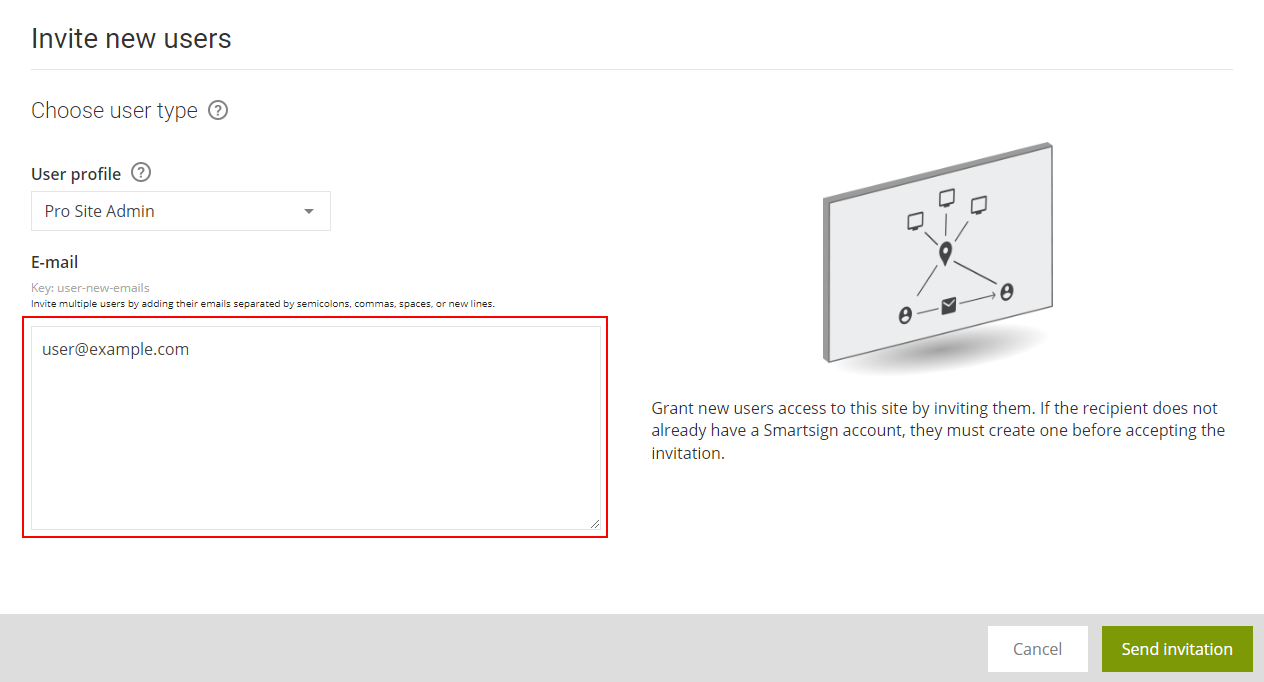
Input the email address for each user that you want to invite. Multiple can be separated by semicolons, commas, spaces, or new lines.
-
Click Send invitation
-
Ask the users to check their inboxes. They should now have received an email invitation to join.
- Pending invitations can be seen in the list of users.
- It's possible to add groups etc to them before they join so they are ready to go.
- You can resend an invitation, by selecting the pending invitation and clicking Resend Invitation
Accepting an invitation
- If you have received an invitation email, and you are not already logged in, the link will take you to Smartsign Identity first
- If you already have an identity, simply login and proceed. If not, you must first create one by clicking Sign up
- Once you are logged in you can proceed in two ways
- Click the invitation link again in the email
- Go to Smartsign Display Manager, it will automatically recognize that you have a pending invitation and ask you to accept it
Locking a user
Sometimes you need to disable a user but may still want to keep it in the system.
-
Go to Management and then Users
-
Find the user that you want to disable and select it
-
Click View in the action bar
-
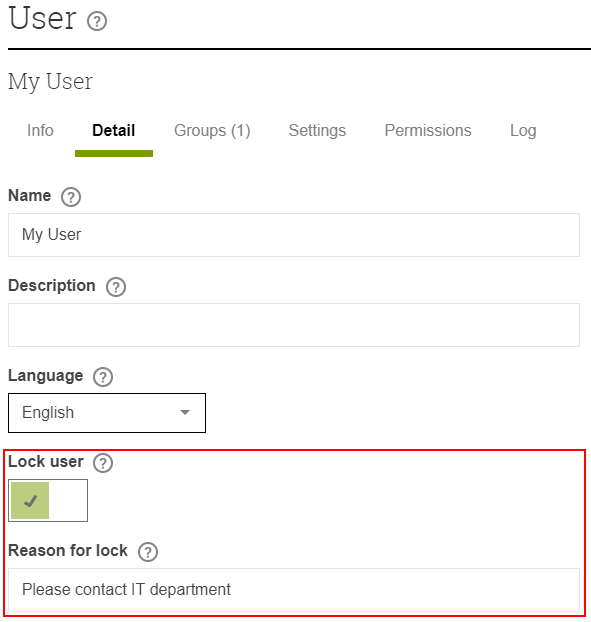
Go to the Detail tab
-
Enable the Lock user setting
-
An edit box will appear where you can provide an optional reason for the locking. The text you provide here will be shown to the user if they attempt to login after being disabled.
-
Click Save
-
The user will be logged out and blocked immediately
User Profiles
User profiles control what permissions, settings and features each user
has in the system. By default there are some predefined user profiles
available.
Admin
This is the user profile intended for the global admin. It has access to
almost all functions by default.
Publisher
This is the default profile for publishers. It gives you access to
perform bookings and access the media library for example. Since the
user type is "normal", explicit access needs to be given to any resource
that the user needs to make use of. Including, but not limited to,
screens, layers and media library folders.
Pro Site Admin
This user profile has access to most features including screen layouts
and user management.
Basic Site Admin
This user profile has access to a limited feature set. It can only use
screens, not channels and it's not allowed access to screen layouts and
user management for example.
Quick Publish Site Admin
This is the most restricted site admin profile. In additions to the
restrictions in basic, it only has access to the Quick Publish booking
function. The calendar is not available.
Wayfinder
This is a special user profile intended for use with the Wayfinder
add-on. It only has access to channels which are used to represent
rooms/resources when you perform reservations in Smartsign. In addition
it has a special permission which allows users based on it to create
empty bookings without any media in them.
User type
There are three user types.
Normal – A normal user requires that you give explicit permission to
all resources it should be able to access. Those include, but are not
limited to, folders in the media library, layers, channels, screens and
triggers.
SiteAdmin – A Site Admin has access to all resources within its site
or scope. If there are sub sites the site admin will be able to move to
those and access them as well.
Admin – This user type is essentially the root user. It has full
access to all resources. It cannot be restricted although it is possible
to choose which parts of the user interface are available or not when
logged in.
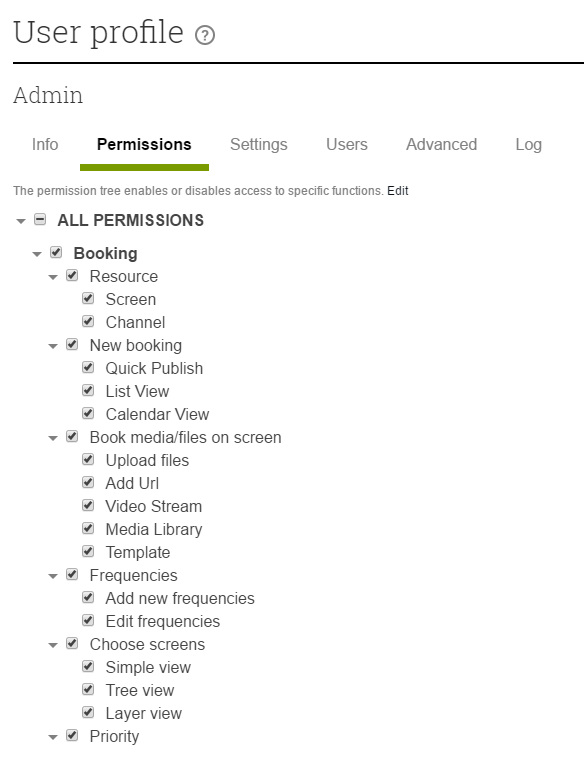
Permissions
The Profiles assigns features and rights to users of the chosen type. Some typical permissions are described below.
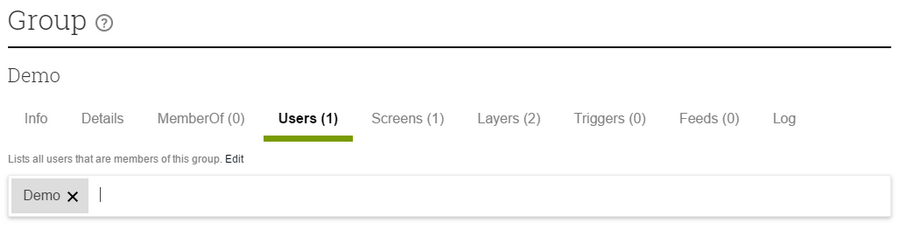
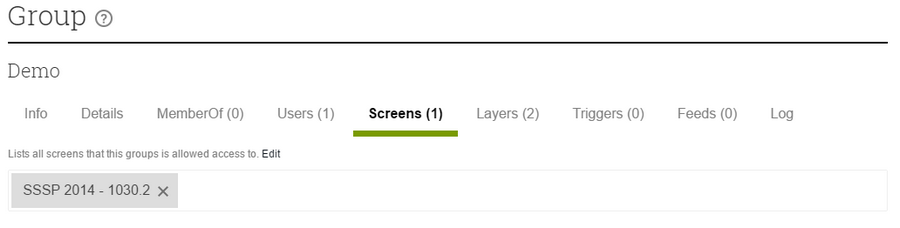
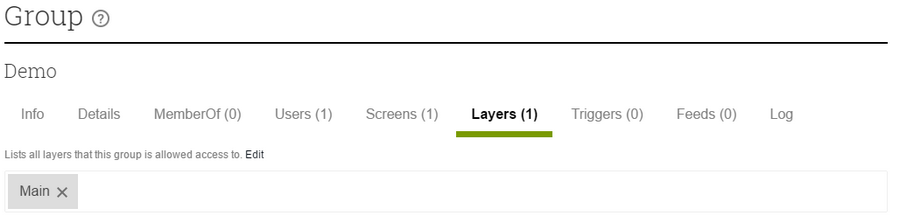
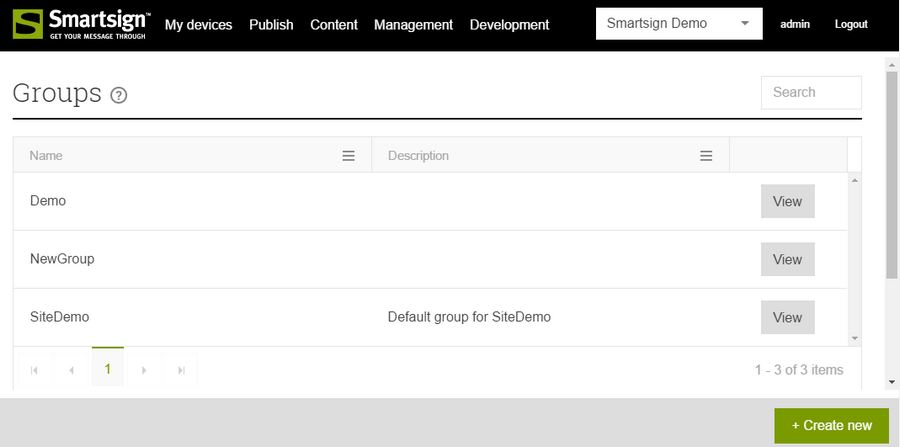
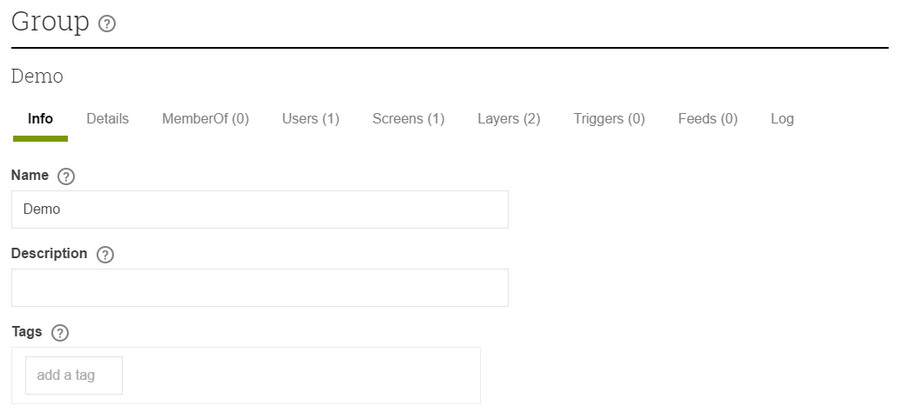
Groups
Access to resources such as layers, channels, screens and media are controlled through groups. All users have a private group with the same name as the username. It can be used to assign permissions to individual users.
Group list view
Group detail view
How to give a user permission to publish on a screen
A publisher must have access to both the screen and the layer that they wish to publish on..
- Select a group
- Add a user, a screen and a layer.
- Click Save.
The user will now be able to book on the selected layer on the screen. If it is not working, please verify that the layer is the layer used in the screen layout used by the screen.